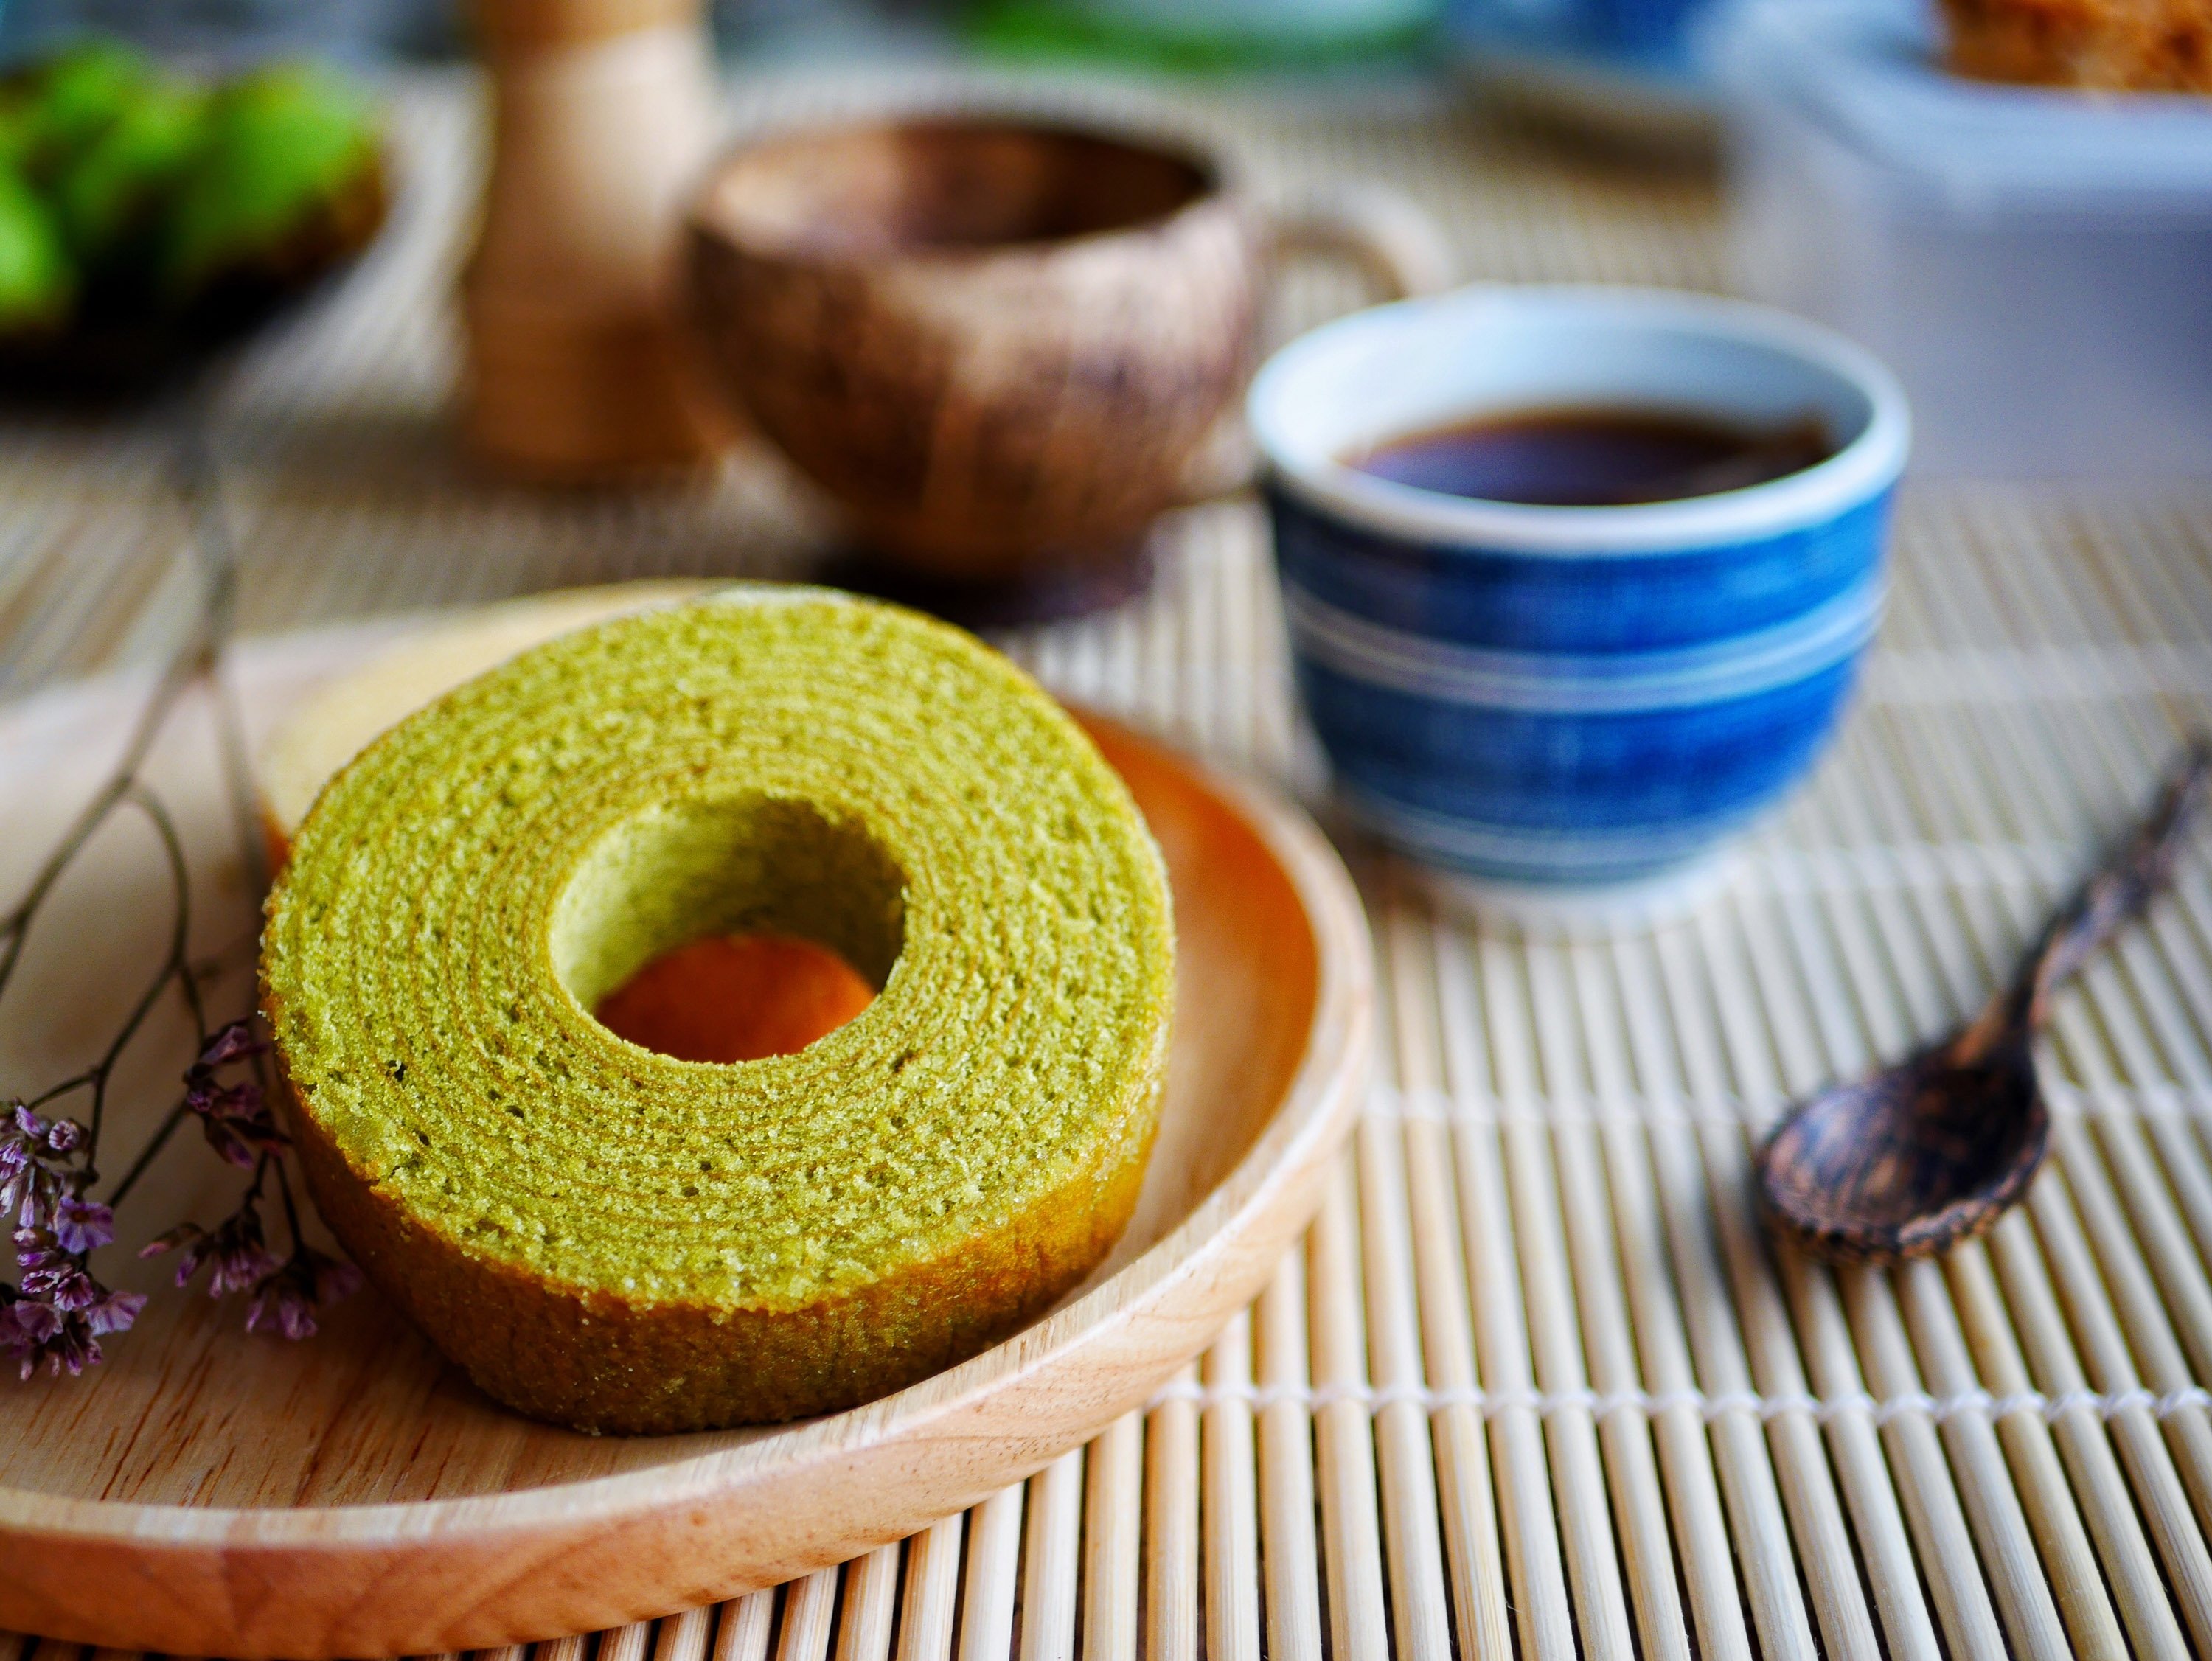
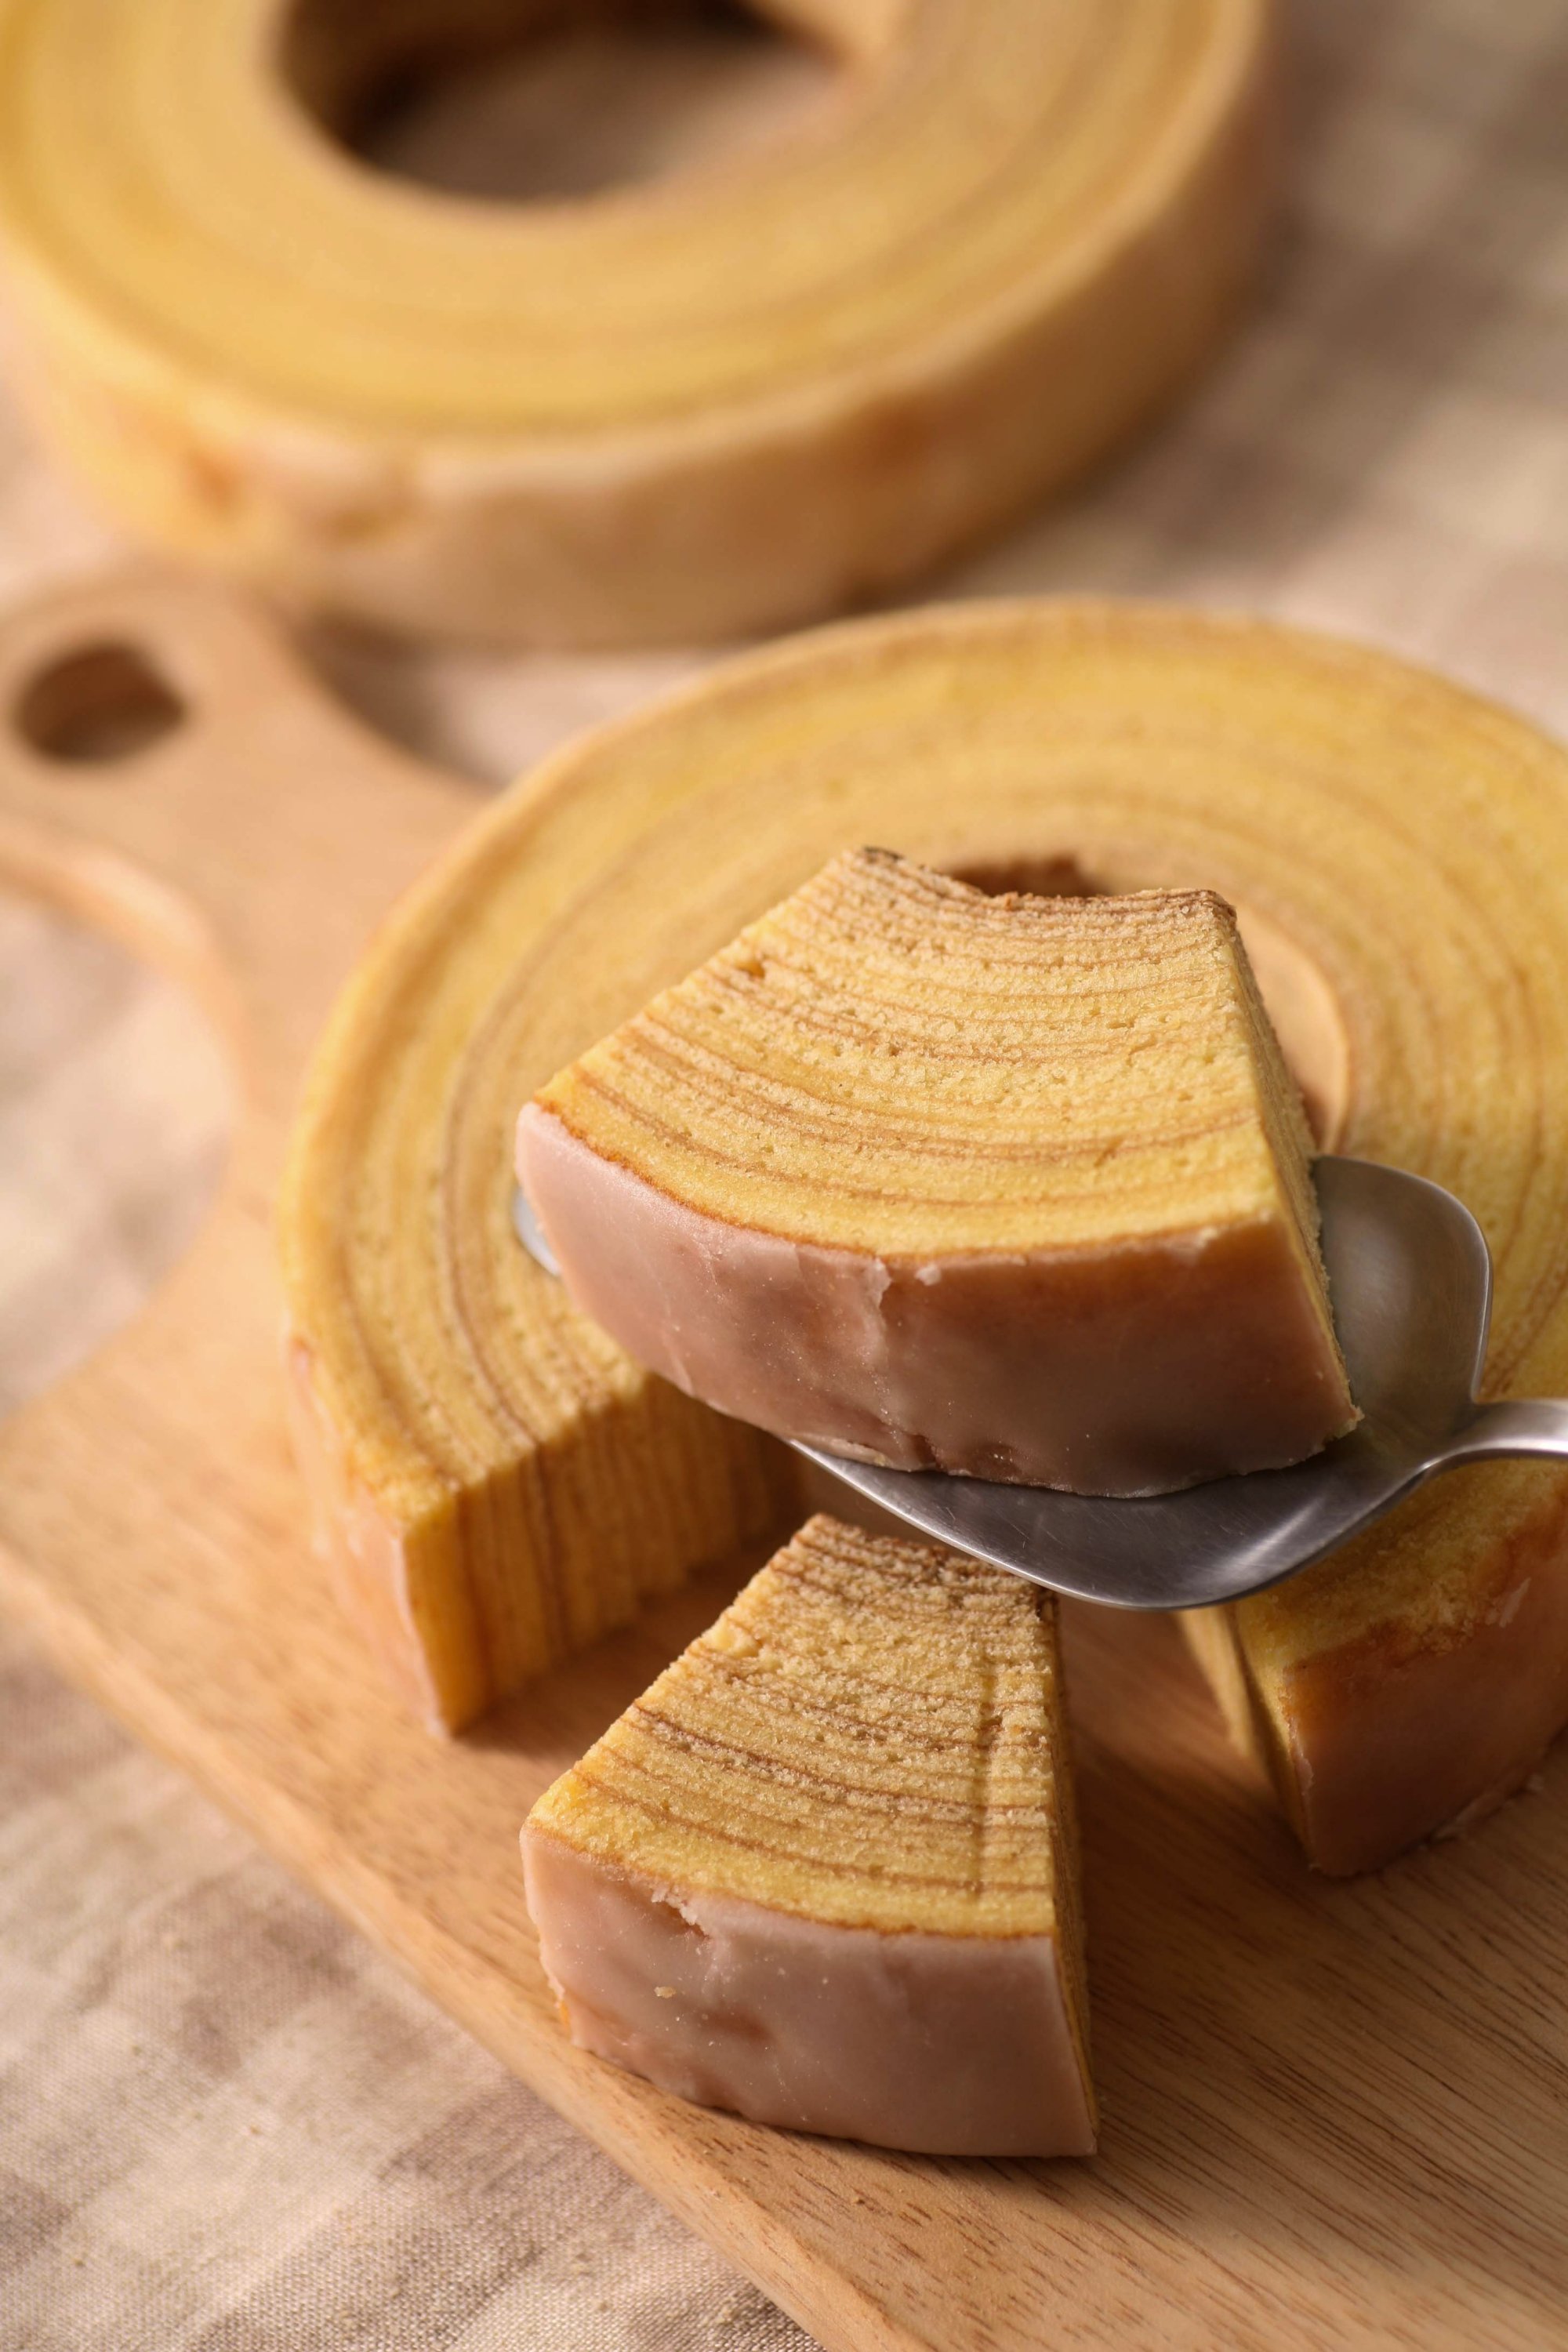
While this cake may be internationally known as a German “tree cake,” its roots reach far back in history. This German dessert pantheon is usually seen around Christmas and winter holiday season, but it is also popular for weddings due to its ring shape. The simplistic taste of its ingredients also makes it great for office parties, as it was last year for us. Even though COVID-19 prohibits such gatherings this year, you can always bake your own at home.
History
Baumkuchen can be seen in many countries throughout Europe. But it's also a hugely popular dessert in Japan, which makes for a rather interesting story.
We can trace one of the very first written recipes for this amazing layered cake back to 1581, the roots for this cake are said to go back to Ancient Greece.
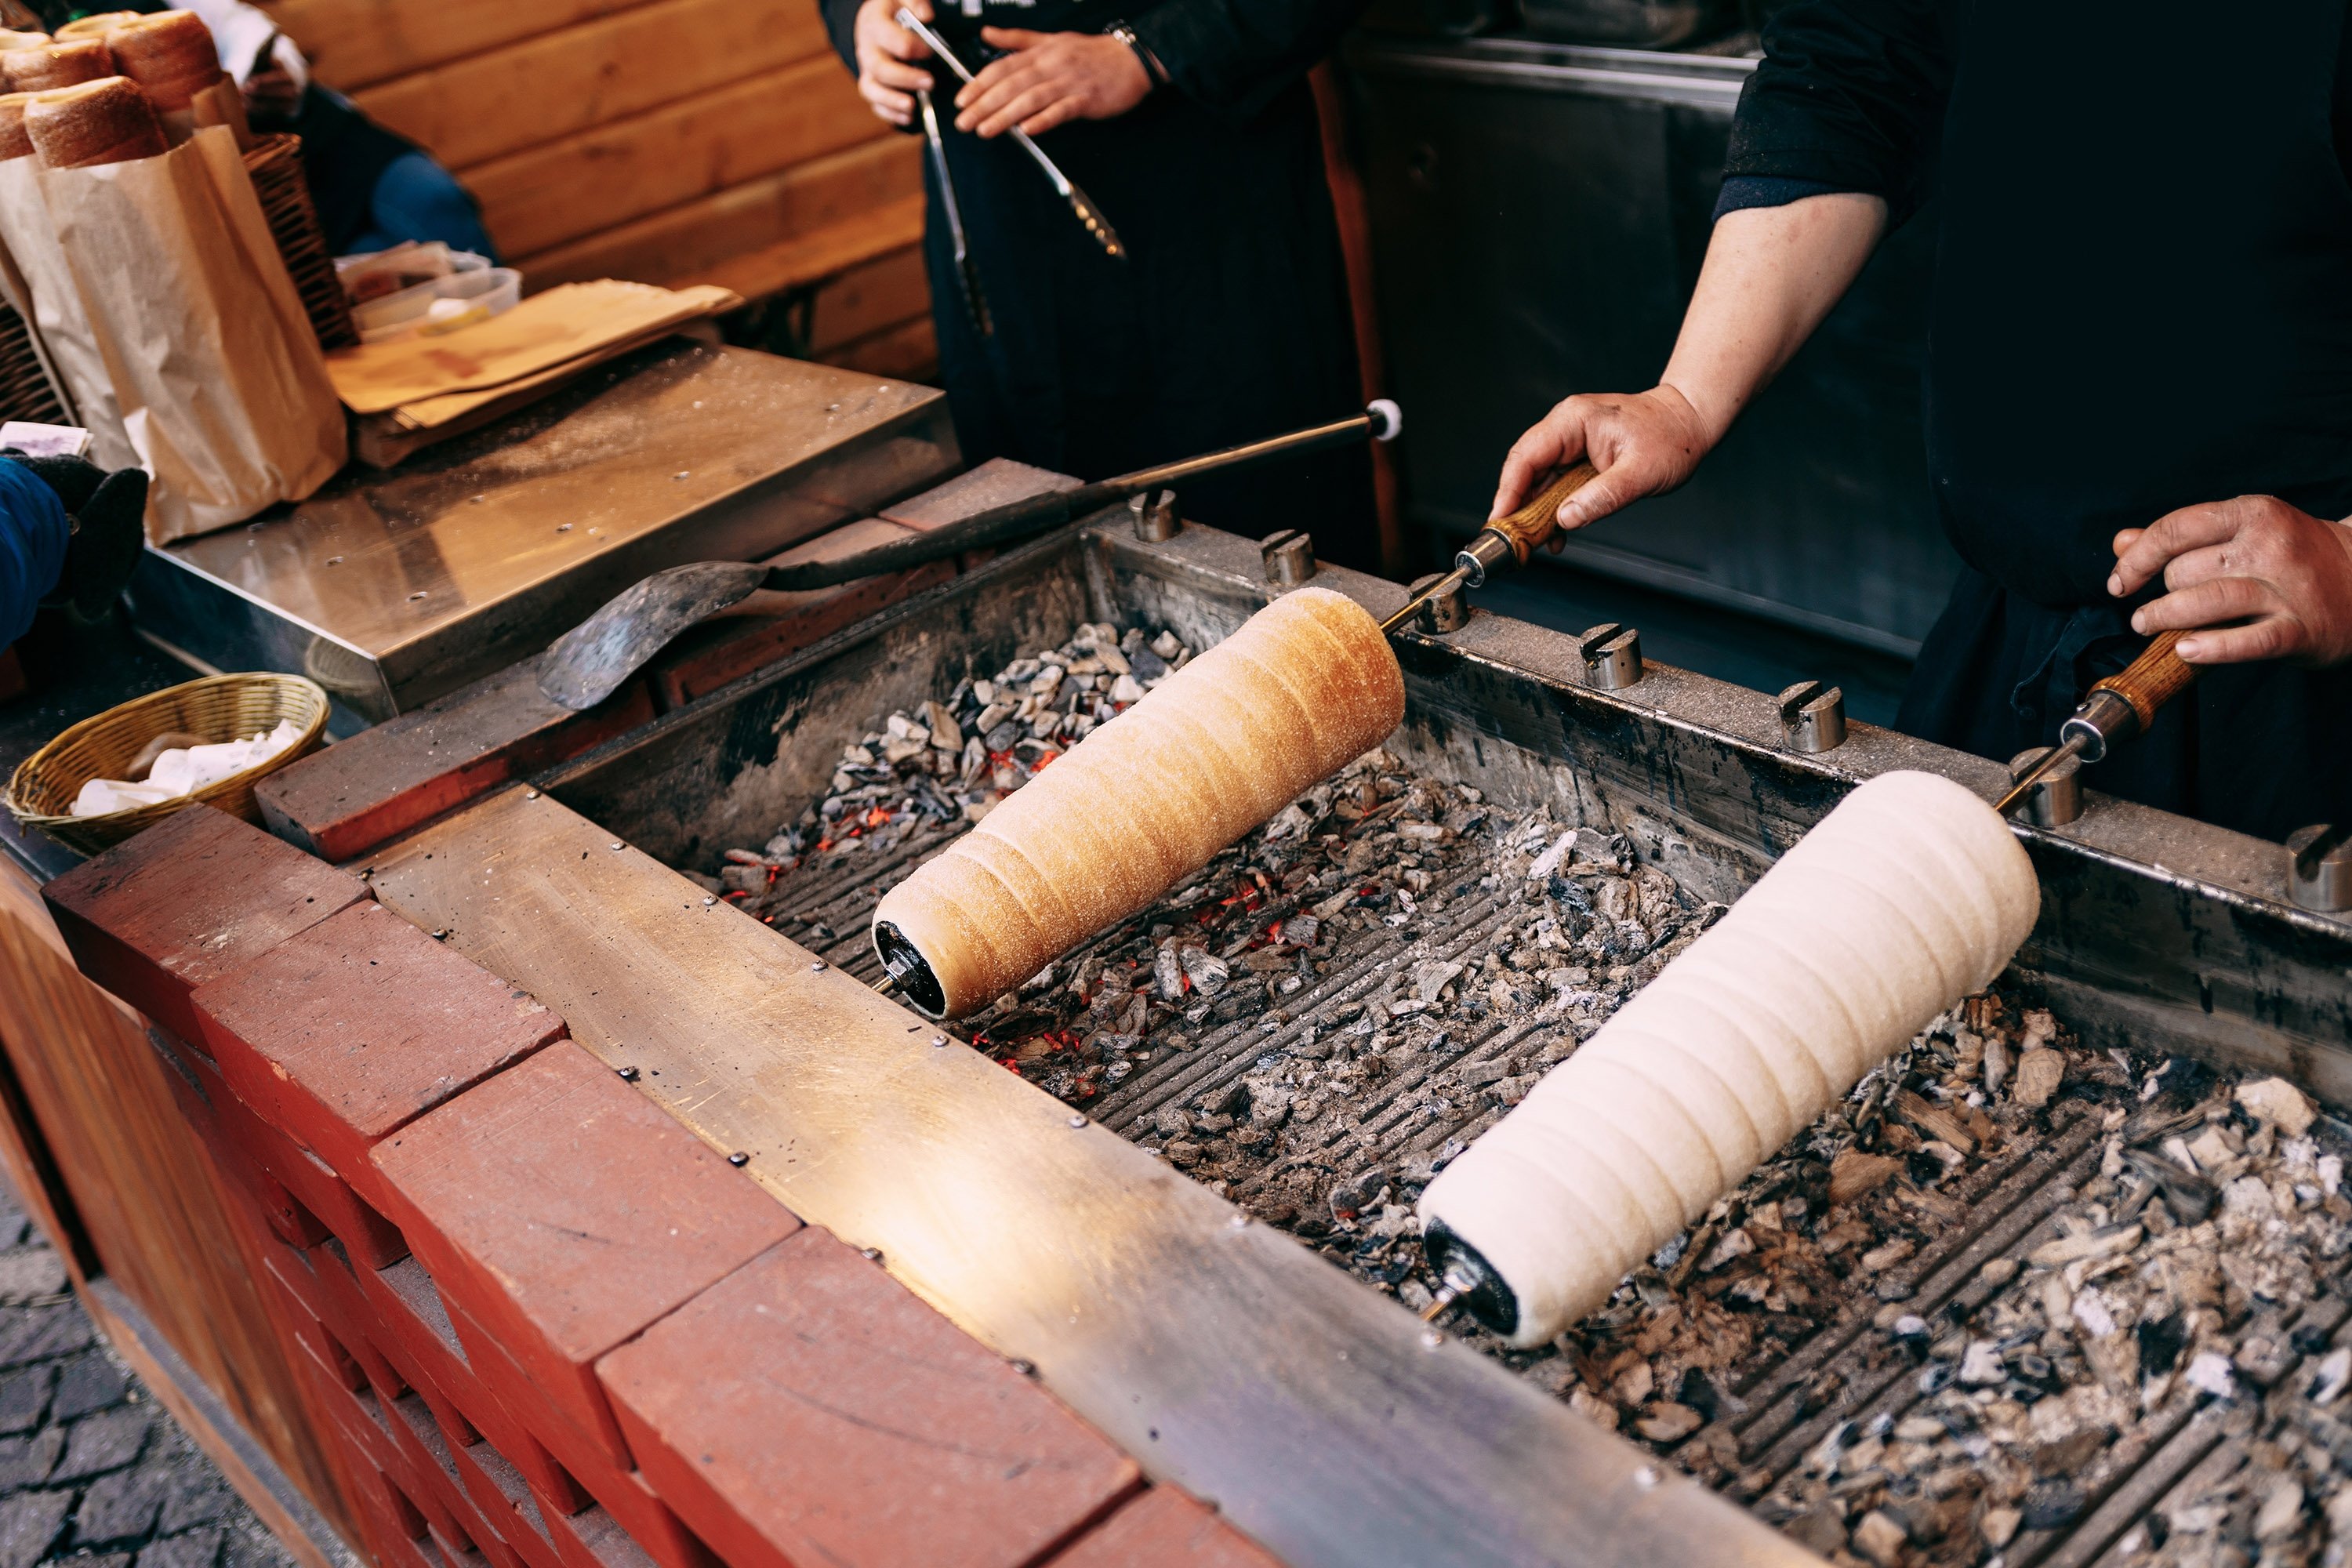
There are some myths that this cake came about by people poking sticks into the dough and rotating them over an open fire as you would do with your "wurst." As the dough would dry quickly and be pretty thin, they’d do that over and over again to make a much thicker cake. In Ancient Greece, this type of cake was said to be a symbol of fertility because it looked like a phallus.

Baumkuchen around the world
Just as language is a living, growing and changing entity, so are recipes. While some German cities claim the cake as their own, there are quite a few variations out there, including in other countries.
In Poland, this cake is known as “senkacz” and is sometimes called “beggar’s cake" because thieves stealing eggs would make this cake to solidify the eggs and make them easier to transport.
The Hungarian version of the cake is known as “kurtoskalacs” and is made from a different kind of (yeast) dough which is wrapped around the spit rather than brushed on. Before it's baked, the cake is covered in sugar, and layers of butter are brushed on during baking. The Czech version is similar to the Hungarian but adds walnuts into the mix.
Weirdly enough, the cake is popular in Japan thanks to German confectioner Karl Joseph Wilhelm Juchheim who was in China during World War I and went to Japan with his wife when the war ended. They presented and sold the cake at a German exhibition in Hiroshima in 1919 and eventually, it became popular enough for them to open a shop in Yokohama. But due to an earthquake in 1923, the shop was destroyed, forcing them to move to Kobe. The couple stayed there until the end of World War II. Mrs. Juchheim returned a few years later to help a Japanese firm open a chain of bakeries under the juccheim name and spread it all over the country. That very chain is still active in Japan to this day.

What is exactly Baumkuchen?
It's rich history aside, Baumkuchen is delightfully rich and contrary to stereotypical German pragmatism, is an impractical cake. It is made by brushing on the dough onto a spit, quite like kokoreç or a horizontal döner, which is constantly rotated. Each layer added turns a slightly brown color before the next layer is applied. Once the desired amount of layers is achieved, which is usually 15 to 20 layers, they are cut into smaller sizes, making for a log-like piece. The cake is covered in a thin layer of chocolate and then is ready for consumption.
But as it so happens, during the making pieces can fall off. There is no solution, except for being extremely skilled. When accidents do happen, these pieces are not thrown away but covered in chocolate as well and sold as “Baumkuchenspitzen” (tree cake points or pointed tree cakes).

The recipe
While the majority of people do not have a spit to make this cake at home, many do have an oven with the option to heat it from above. If you have the patience and quite a few eggs lying around, you can try making this cake yourself at home. I like to multitask while doing this one, an eye on my crochet needles and the other on the cake. Or you could even have a movie on while making it; just make sure it is not too captivating as you might be too late by the time the smells of burnt cake reach you.
Ingredients
- 9 eggs
- 10 grams vanilla sugar or some vanilla extract
- 400 grams butter
- 350 grams sugar
- 60 milliliters milk
- 150 grams starch
- 10 grams baking powder
- 220 grams flour, or 1 2/3 cup
- a pinch of salt
- chocolate to coat the cake
Instructions
Before doing anything, preheat your oven at 160 degrees Celsius, only turning on the top heat. The necessity of preheating is always debated, but considering the many steps and optimal heat needed, having the oven ready to go would be a big plus.
Prepare your baking tray of choice by lining it with some baking paper. I prefer a springform as it is easier to push it out later. If you want to use another (more rigid) kind, make sure to cover the sides of the tin as well.
Whisk the butter and sugar together until it's fluffy and start adding eggs one by one. You should be adding three in total. While the batter is mixing, separate the remaining six eggs and add the egg whites into a clean bowl. The six egg yolks will be added to the batter individually as well. If you add all the eggs in at once, the batter will curdle. (If it still does despite being careful, don’t worry about it too much. The taste is not affected by it, just the texture.)
Pour in the milk and vanilla and continue mixing. In a separate bowl, add the flour, starch and baking powder and sift it through once before adding it into the dough. Sifting will make the dough even silkier.
Add a pinch of salt to the egg whites and whisk them until they are stiff. To know if they are the right consistency, do the upside-down test: If the egg whites stay in the bowl when you turn it upside down, they are OK.
Now carefully fold the egg whites into the dough. Do not stir! We need the air bubbles of the egg whites to make the cake fluffy.
Depending on the size of your baking tin, you’ll want to pour 2-3 tablespoons of the dough into it and spread it so that there is a thin layer of the dough covering the bottom.
Bake this until the layer of dough turns a golden brown color. The first layer usually takes the longest, anywhere from 5-10 minutes. Once cooked, remove it from the oven and spread the next layer onto it again, making sure to get into every corner and spread toward the edges evenly. The dough will shrink while baking so make sure to constantly correct with the next layer of dough to get a cleaner edge. And repeat (until your arm feels like dropping off).
The whole process can take you anywhere from 1.5 to 3 hours depending on how many layers you want to do. Once done, let the whole cake cool off and remove it from the baking tin. Cover in chocolate to seal the cake off and let it rest for at least a day for the best results. Enjoy!
Tips
You can eat this cake right away once it has cooled, but waiting an extra day will make a lot of difference in flavor.
After all that effort and realizing you have maybe done too much, you might want to know if you can keep it for longer. The good news is that you can freeze it. This year, I made a huge Christmas tree cake out of double the amount mentioned here and froze the majority of it. Just make sure to store it in freezer-safe containers; otherwise, you'll end up with that horrible “freezer taste” overpowering the taste of the cake.
Read Again https://www.dailysabah.com/life/food/patience-solidified-baumkuchen-the-german-layered-tree-cakeBagikan Berita Ini


0 Response to "Patience solidified: Baumkuchen, the German layered 'tree cake' | Daily Sabah - Daily Sabah"
Post a Comment